Last verified 2026-10-22
G-46C puzzle solution
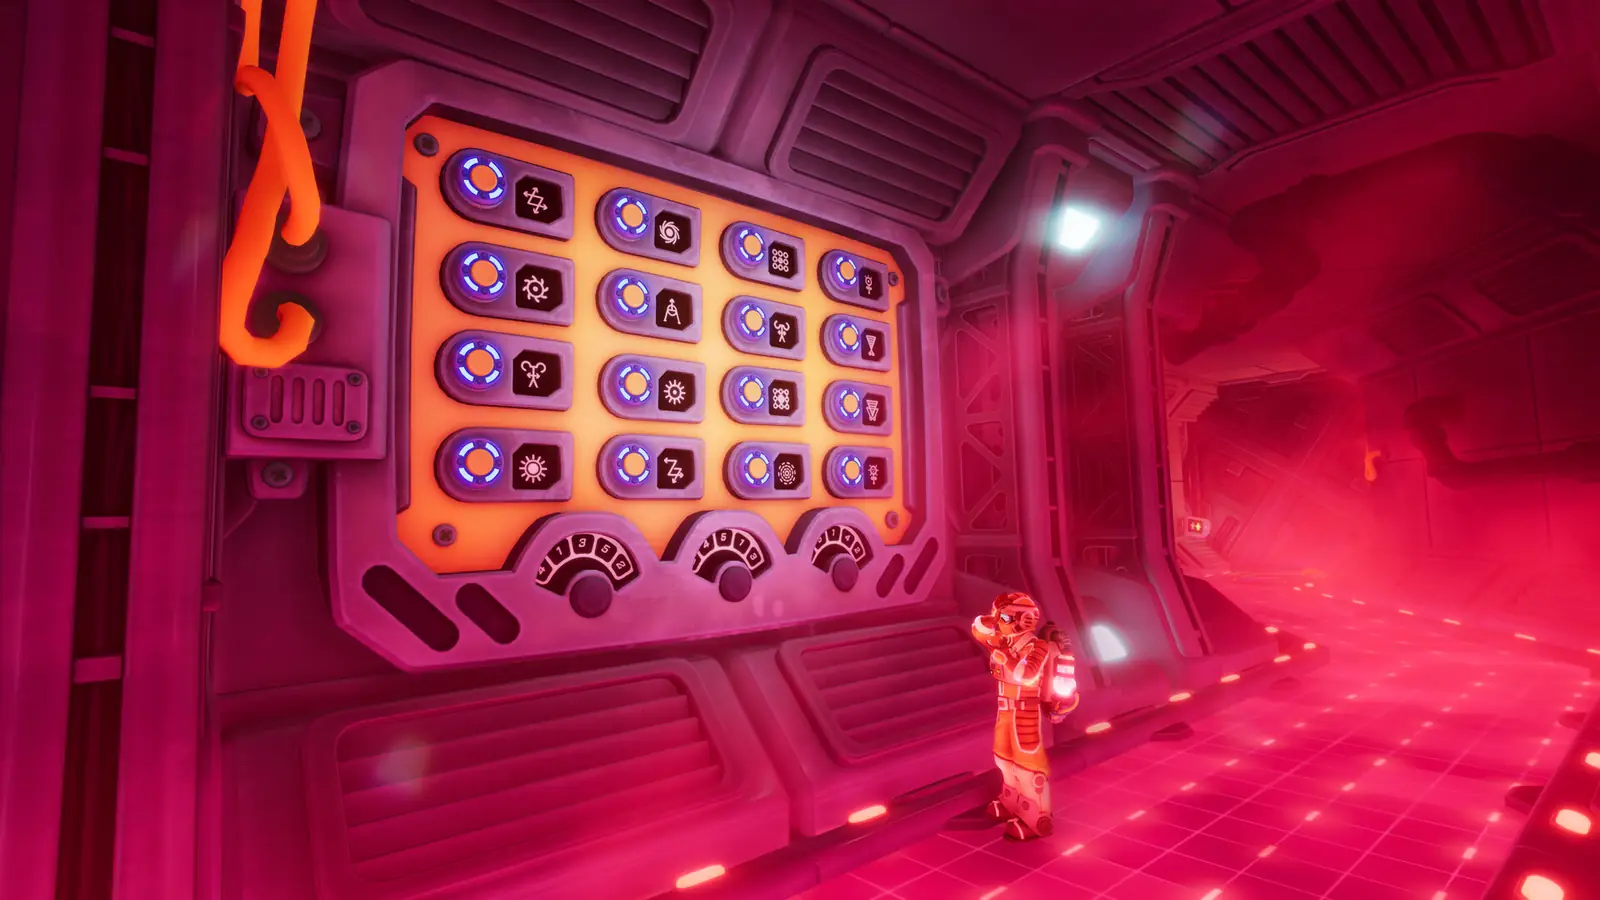
In the Temporal Research Centre, set the two levers to the blue zone, then press the 3rd and 4th buttons on the top row, the 2nd on the middle row, and the 3rd on the bottom row. Three guides describe those positions as fixed. Re-read the panel anyway, because the symbols beside the buttons can change.
What I checked
I lined up 9to5Gaming with two Steam guides, one of them written as a 15-button answer. They count from the left the same way. I still tell you to look at the panel, because a reset can redraw the glyphs even when the positions stay put.
Buttons, counted from the left
The panel is three rows of five. The official Steam screenshot of the glyph wall is the same kind of faceplate, which is why that image sits on this page.
- Move both levers into the blue zone before you touch buttons.
- Top row: press the 3rd and the 4th.
- Middle row: press the 2nd.
- Bottom row: press the 3rd.
- If the door stays shut, clear the panel and read the monitor shapes again.
G-46B is not this puzzle
Search interest exists for a label G-46B. On 22 October 2026 a Steam discussion search for that string returned nothing, and no guide I opened gave a solution. I am not publishing a guess. If you are staring at fifteen buttons, you are on G-46C.
Questions
Do the symbols spell the answer?
The guides treat the button positions as the answer and the symbols as a display that can reset. Confirm against your monitor.
What if my levers have no blue zone?
You may be one state early. Power the room, then look again.
Is there a G-46B page?
Not until there is a source. This paragraph is the whole note.
Keep going
Sources
- 9to5Gaming — Button rows
- Steam guide — Levers to the blue zone
- Steam guide — Same positions via monitor shapes